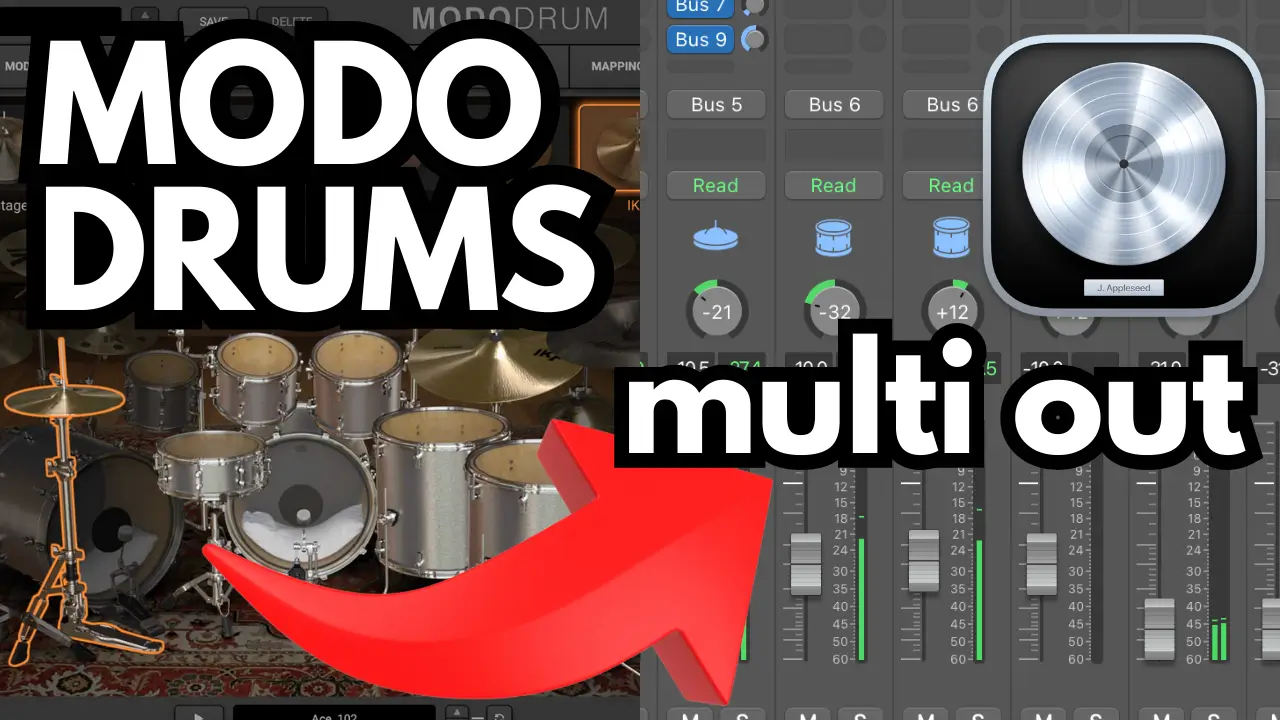
Are you looking to take your drum mixing to the next level in Logic Pro 11? If you’re using MODO Drums by IK Multimedia, you might be missing out on a powerful feature that gives you full control over your drum sound: Multi-Output routing!
In this guide, I’ll show you how to set up Multi-Output for MODO Drums in Logic Pro 11, allowing you to process each drum individually for a professional mix. Plus, don’t miss the detailed video tutorial included below for a step-by-step walkthrough! 🎬👇
Do you want to see the best deals for ik multimedia software? Check them out here!
Watch the Video Tutorial
Related Posts:
- How to Create Multiple Outputs for Kontakt 8 in Logic Pro
- How to Set Up Triaz Drum Machine Multi-Output in Logic Pro
- How to Set Up NI Battery Multi-Outputs in Logic Pro
Why Use Multi-Output for MODO Drums?
By default, MODO Drums routes all drum sounds through a single stereo output, which limits your ability to mix effectively. With Multi-Output routing, you can:
✅ Separate each drum (kick, snare, toms, cymbals, etc.) into its own channel in Logic Pro 11
✅ Apply individual processing (EQ, compression, reverb) to each drum
✅ Balance and blend your drums for a polished, professional mix
✅ Use third-party plugins on specific drum elements for enhanced creativity
If you want cleaner, punchier, and more dynamic drum tracks, setting up Multi-Output is essential!
How to Set Up Multi-Output for MODO Drums in Logic Pro 11
Follow these simple steps to configure Multi-Output for MODO Drums in Logic Pro 11.
Step 1: Load MODO Drums in a Multi-Output Instrument Track
1️⃣ Open Logic Pro 11 and create a new Software Instrument Track
2️⃣ Click on the instrument slot and select MODO Drums (Multi-Output) instead of the stereo version
This ensures that Logic Pro 11 will allow routing each drum sound separately.
Step 2: Enable Multi-Output in MODO Drums
1️⃣ Open MODO Drums and go to the Mixer tab
2️⃣ Look for the output routing options and assign each drum (Kick, Snare, Hi-Hat, etc.) to its own output channel
This step tells MODO Drums to send each drum sound to a different track inside Logic.
Step 3: Assign Outputs in Logic Pro 11’s Mixer
1️⃣ Click on the small “+” button in the Logic Pro mixer to create auxiliary channels for each drum
2️⃣ Route each new aux track to match the output channels from MODO Drums
3️⃣ Rename each track (Kick, Snare, Hi-Hat, etc.) for easier mixing
Now, each drum has its own track in Logic Pro, giving you full control over individual processing!
Mixing Tips for MODO Drums in Logic Pro 11
Once your drums are routed separately, it’s time to mix them like a pro! Here are some essential tips:
🎚️ EQ Your Drums Separately – Cut unwanted frequencies and enhance clarity
🎛️ Use Compression on the Kick & Snare – Adds punch and consistency
🌊 Add Reverb to Toms & Cymbals – Creates depth and space in your mix
🔊 Parallel Compression for Thickness – Make drums sound fuller without losing dynamics
Want a full breakdown? Watch the video tutorial above for detailed mixing techniques! 🎥
Final Thoughts
By setting up Multi-Output routing for MODO Drums in Logic Pro 11, you’ll gain full control over your drum mix, allowing you to shape the perfect drum sound for any genre.
✅ Better separation
✅ Cleaner, more professional mixes
✅ More creative flexibility
If you found this guide helpful, make sure to:
✔️ Subscribe to my YouTube channel for more Logic Pro 11 tutorials
✔️ Drop a comment below with any questions
✔️ Share this guide with fellow producers!
#LogicPro11 #MODODrums #DrumMixing #HomeStudio #MusicProduction #LogicProTips #DrumMixingTutorial
Related Posts:
- How To Set Up Multi-Output for EZ Drummer in Logic Pro
- How To Set Up Multi-Output For Addictive Drums in Logic Pro
- You Won’t Believe How The RX1200 Sampler Recreates 90s Hip-Hop Magic!
Over 4 Million Sounds
Turn samples into songs with a versatile plugin suite. Loopcloud DRUM and Loopcloud PLAY craft pro‑quality beats and melodies that sound like you, and no one else.