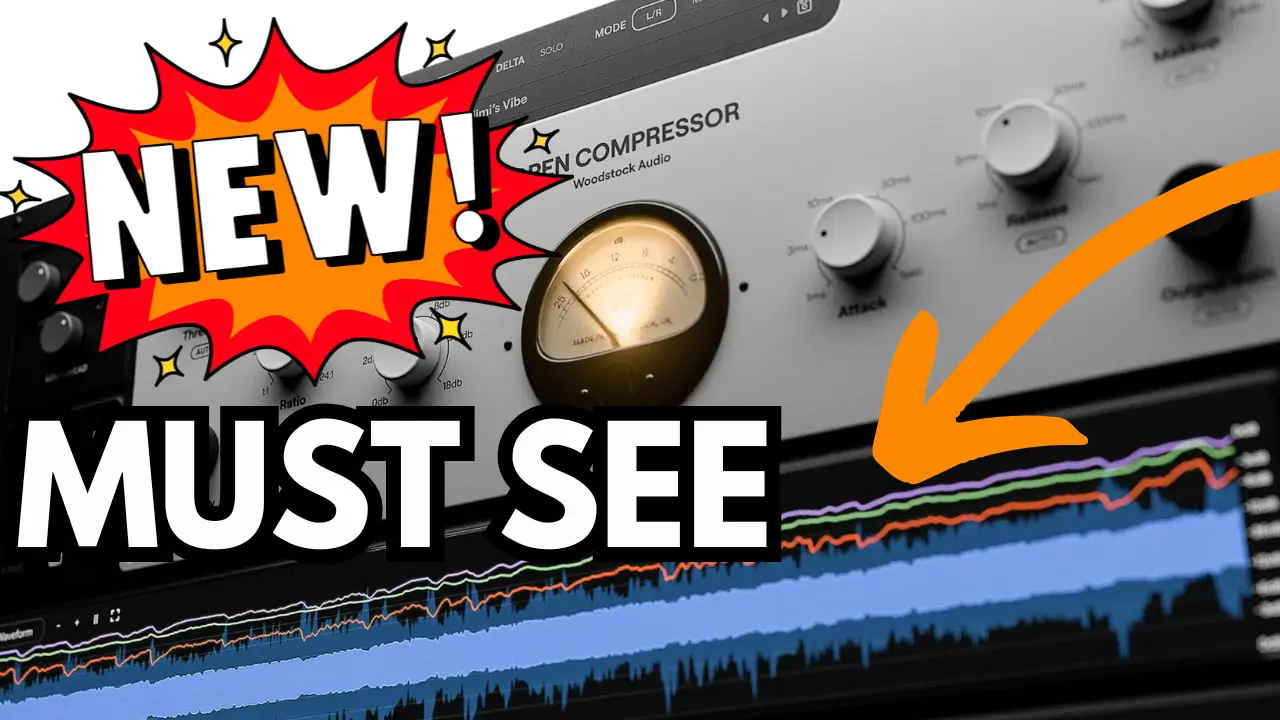
If you’re knee-deep in mixing tracks and wrestling with unruly dynamics, I’ve got something that might just become your new go-to tool. As someone who’s spent countless hours tweaking compressors in DAWs like Logic Pro and Ableton, I was thrilled to dive into Open Compressor from Woodstock Audio. This plugin isn’t just another dynamics processor—it’s an educational powerhouse that peels back the curtain on compression while delivering pro-level results.
Launched by the team behind Mastering.com (check out their epic 10-hour compression course here), Open Compressor combines clipping, limiting, saturation, and more into one intuitive package. In this review, I’ll walk you through its standout features, how it performed on drums and bass in my tests, and why it deserves a spot in your plugin folder.
Related Posts:
- Slate Digital Plugins Hit Plugin Boutique: Free Monthly Goodies Included!
- Master Your Tracks in Minutes with Faster Master
- HEARS Perfection Review: The Ultimate Plugin for Accurate Audio Monitoring
Why Open Compressor Stands Out in a Crowded Plugin Market
Traditional compressors often feel like black boxes—threshold here, ratio there, and pray for the right sound. Open Compressor flips that script with a modular design that lets you see exactly what’s happening at every stage. I love how it empowers you to mimic classic hardware like optical or feedback-style units while adding modern twists like auto-threshold for variable signals.
At its core, this VST and AU plugin (with AAX support now fully rolled out) handles everything from subtle glue to aggressive transient taming. During my session, I loaded it onto a drum loop, and the pre-compressor clipper and limiter immediately caught my eye. These sit before the main compression stage, which is a game-changer for controlling peaks without pumping artifacts. I hit the auto-detect button, played the loop, and boom—the clipper set itself 1dB below the loudest transient, while the limiter grabbed 2dB headroom. No more guessing; just clean, efficient control.
Key Features That Made My Mixes Pop
What sets Open Compressor apart is its blend of power and transparency. Here’s what impressed me most during hands-on testing:
- Auto-Threshold and Auto-Release: Perfect for dynamic sources like vocals or live drums. In my bass guitar demo, it dynamically adjusted the threshold based on the signal’s range (set to 30% dynamic range), ensuring even compression across quiet plucks and fat notes. No more chasing faders mid-take—I got consistent tone without squashing the life out of it.
- Visualizers That Actually Teach You: The waveform view shows wet/dry traces, gain reduction lines, and thresholds in real-time. I froze the display to dissect a clipped transient on drums, zooming in for pixel-perfect tweaks. Add the knee visualizer for seeing compression curves and the harmonic saturation graph for odd/even overtones, and suddenly, you’re not just hearing changes—you’re understanding them.
- Saturation and Low-Level Magic: The dedicated odd and even drive knobs added that analog warmth I crave without mud. Turning the low-level control right boosted quiet details for upward compression on sparse mixes, while left dialed in downward expansion for cleaner lows. Paired with the tilt-style tone control (visible in the EQ curve), it sculpted brightness or darkness effortlessly.
- Flexible Modes for Any Workflow: Switch to RMS or Peak detection, Feedforward for clean digital punch or Feedback for gooey analog vibe. I experimented with Optical mode on drums—the variable attack and two-stage release gave that vintage LA-2A feel. Sidechain options with HPF/LPF filtering worked like a charm for ducking, and Mid/Side processing let me target stereo width precisely.
- Workflow Wins: Auto makeup and output gain kept levels matched for seamless A/Bing. The dry/wet knob enabled quick parallel compression (50% on a New York-style preset crushed my drums beautifully). Oversampling up to 4x handled fast attacks without aliasing, and the resizable GPU-accelerated UI ran light on CPU—even with multiple instances open.
One minor gripe from my initial tests: the window sizing reset on reload, making it tricky on smaller screens. But with updates since launch, that’s smoothed out, and the 14-day trial lets you test it risk-free.
Real-World Performance: From Drums to Bass and Beyond
In the video above, I put Open Compressor through its paces on a drum loop and bass track. The default preset with auto-threshold kicked in instantly, gluing elements without overcooking. On the drums, I layered in even harmonics for subtle grit—check the oscilloscope view to see how it shaped the waveform. For bass, the clipper shaved peaks pre-compression, preserving punch while the limiter added ceiling control.
Presets like “New York One” (parallel blend at 50%) delivered that instant bus compression vibe, and the built-in analog library let me recreate favorites from SSL to Distressor. Whether you’re mastering vocals, fattening guitars, or taming full mixes, this plugin’s versatility shines. It’s not trying to replace specialized emulations—it’s the 99% workhorse that handles the heavy lifting.
Final Thoughts: Is Open Compressor Worth Your Plugin Budget?
After a week of daily use, Open Compressor has earned a permanent spot in my chain. Its educational visuals demystify dynamics processing, making it ideal for beginners and pros alike. If you’ve struggled with compression basics (like I did early on), this is your shortcut to better decisions.
You can head over to Woodstock Audio for the trial and see the science behind the sound yourself.
What’s your biggest compression headache? Drop a comment below—I’d love to hear, and maybe swap tips. If this review helped, subscribe for more plugin deep-dives and mixing hacks. Let’s keep those tracks sounding pro.
The links to Plugin Boutique are affiliate links, meaning I may earn a small commission if you choose to purchase through them. This helps support the channel at no extra cost to you. I only recommend products I personally use or believe bring real value to producers and songwriters.


